How to Make Your Own Rubber stamp – Glam Radar
Ready to embark on your first stamp-carving project , do you want to know How to Make Your Own Rubber stamp ? Or perhaps you’ve done it before but it’s been a while? Here are some pro tips to keep in mind as you start carving: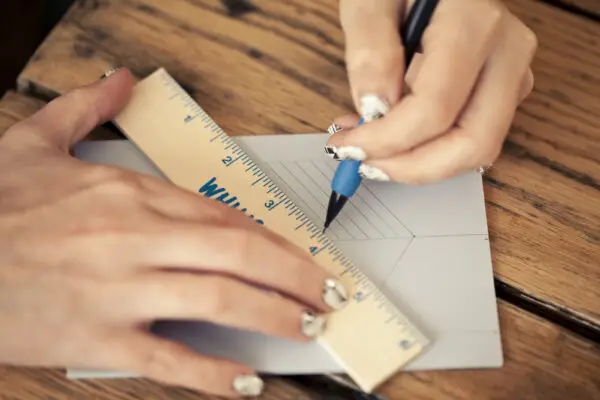
1. Start with a drawn or traced design.
Draw your design directly on the block with a pencil, or trace a design you’ve printed off of the computer. Remember to reverse any text! click on image and save on your pc , then print if you like arrow pattern :![]()
2. Carve AWAY from yourself!
Apparently I should have posted this earlier, because our own Rachel drew blood while carving, of all things, a dripping blood stamp! Always, always, always, carve away from yourself. When I start moving quickly I sometimes break this rule, so avoid the temptation! Turn your block often so that you can keep carving away. from. yourself.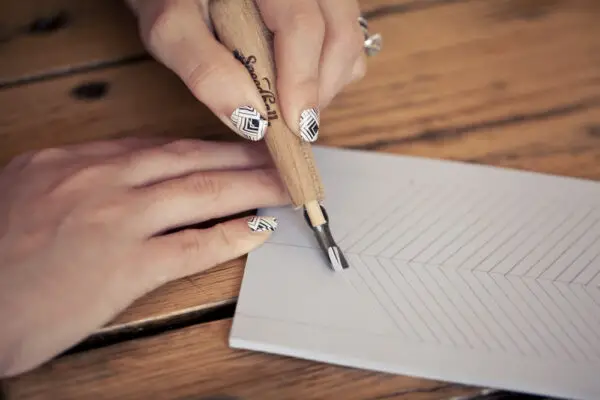
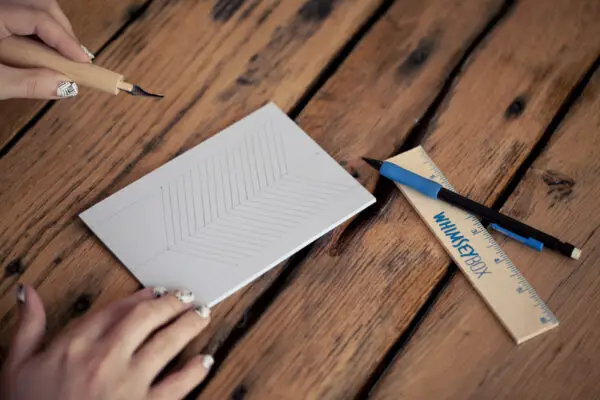
3. Outline first.
Start out by doing a complete outline of your design. Having every shape carved, even lightly, will prevent hard-to-fix mistakes like cutting through a part that should never have been cut.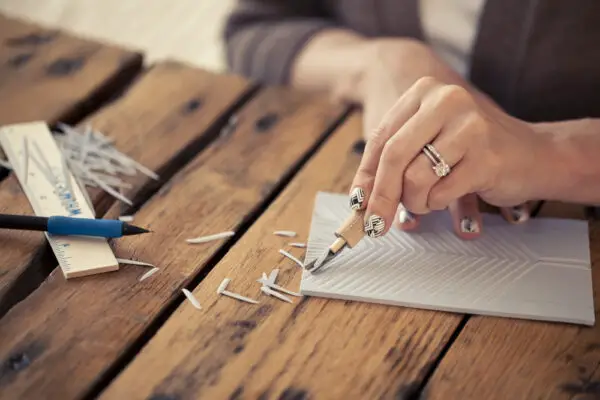
4. Start shallow.
While outlining, start with a light touch. Mistakes and injuries are more likely to occur if you’re trying to carve really deeply. Instead, focus on staying true to your design and don’t worry about removing a lot of material right away. There will be plenty of time for that later.
5. Extend your lines.
Carving should be a nice smooth motion, so whenever possible try to extend the line of your carve beyond the design element you are cutting. By doing this you’ll be able to keep an even and steady line all around your design.
6. Have patience.
Carving is a process, so if you only have five minutes before the kids come home to carve, ink, print and mail your card… well, maybe wait until after bedtime? Take your time and enjoy the process. Since carving is a subtractive process (where material is removed, instead of added), it’s even more important to go slowly and avoid major mistakes.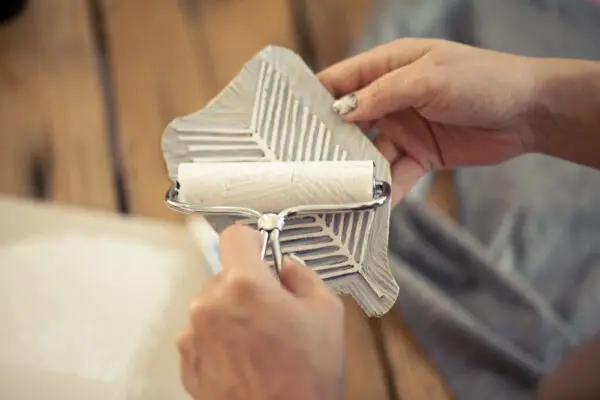
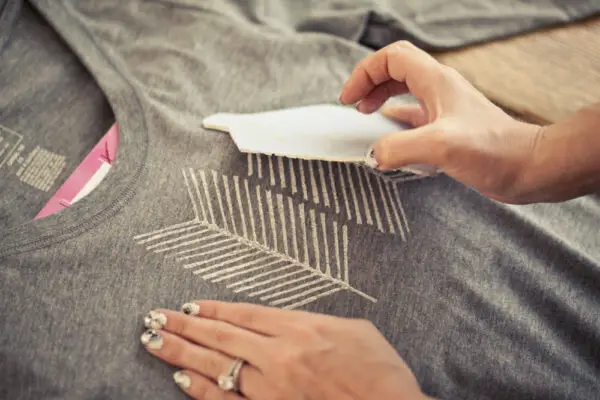
7. Test on scrap paper.
Before you stamp on your fancy cardstock, do a few test prints on scrap. This way you can figure out how much pressure to use, how much ink is best (sometimes I like the second print after inking better than the first!) and other specifics of your design.
8. Embrace the eccentricies. The charm of a hand-carved stamp is it’s unique, one-of-a-kind nature!