DIY Ombre Hair using Loreal Ombre Kit, Ombré N°1 – Glam Radar
by Christabella · June 5, 2015
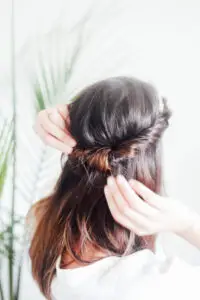
So today was interesting. I had a ‘spur of the moment’ kind of thing (which is quite rare) and decided to ombre my hair. Now this was a HUGE leap for me, because I’ve never coloured my hair, apart from the odd highlights here and there. If you have never heard of the ombre hair technique (which sure most of you have) it’s basically a gradient where your hair goes from brown at the roots, to blonde at the tips. It’s obviously extremely damaging to your hair, because you have to use bleach in order to lighten your hair- so it’s stripping the natural colours. The fact the it’s at the very tips of your hair makes it even worse, but I thought I needed a change, and if it goes wrong then lesson learned. However, you’ll be glad to know that I’m very happy with the result, and it came out exactly the way I wanted it! 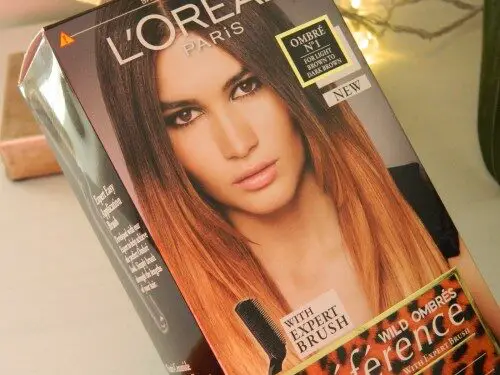 I used the L’oreal wild ombres preference in number 1 which is for light brown to dark brown hair. It comes with a special brush that can be used to apply the bleach along with all the other contents used to get the complete ombre look. Although there are instructions inside, I went completely against the rules and did it my way, here is how I did it: 1.Section your hair, as you’d normally have it. Or just shake out your hair and let it fall naturally. 2.Tie it up into two equal pony tails on either side of your head. This will make the application a lot easier and will have an even coating of the dye. 3.Apply the dye at the tips of your hair. Note that this will be the lightest part of the ombre so take it up as high as you want the lightest part to be. 4. Apply tin foil when you have applied the hair dye. Then check every 10 minutes on how much the hair dye has developed. I left it on a total of 25 minutes. 5. Apply the dye above where you’ve just dyed it. I went up an extra 5cm. 6. Use the brush provided in the kit to make sure the dye is evenly spread throughout the layers of your hair. 7. Apply tin foil and keep checking on how the colour is developing. I left it in a total of 20 minutes. 8. Wash your hair, and style accordingly!
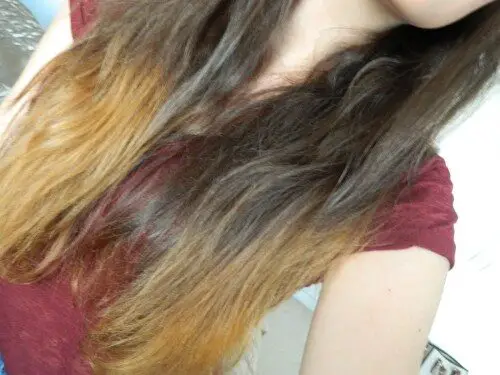
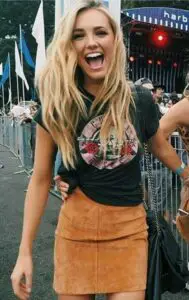
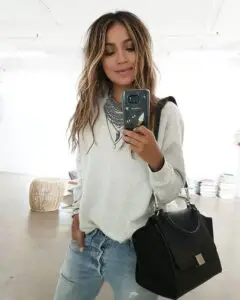
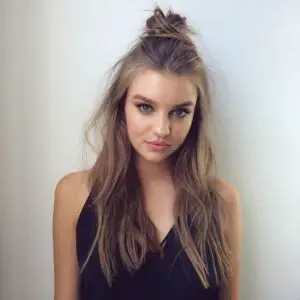
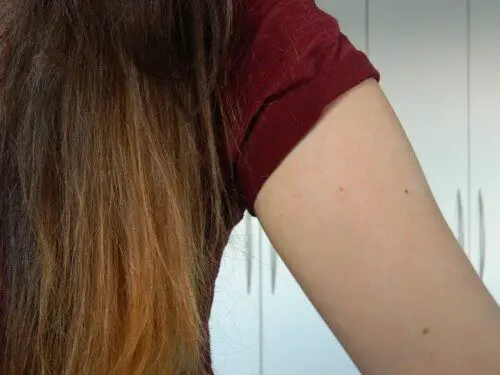 I’m extremely satisfied by the outcome. I feel like it’s the perfect shade of blonde for my brown hair. It adds nice texture to my hair, and overall it looks interesting. There are so many hair styles you can do that will make your ombre hair stand out- and one that I’m especially excited to try out is a top knot. I will probably wear my hair naturally as it’s quite wavy, which looks quite nice with ombre hair, but do keep an eye out for some hairstyle posts that will be coming up soon featuring the ombre hair! What are your thoughts on ombre hair?!
Tags: DIY Ombre Hair Using Loreal Ombre Kit-Ombré N°1Ombre Hair Using Loreal Ombre KitOmbre Hair Using Loreal Ombre Kit-Ombré N°1