Leopard Nails tutorial | Glam Radar
by Maria · March 25, 2014
The sun is streaming through my window for once (in rainy England) and I had a bit of animal inspiration! I recently bought a Models Own black nail art pen and only practised a few times on my toes, but I thought that today should be the day it makes it on to my HANDS! It’s really easy too, let me tell you how..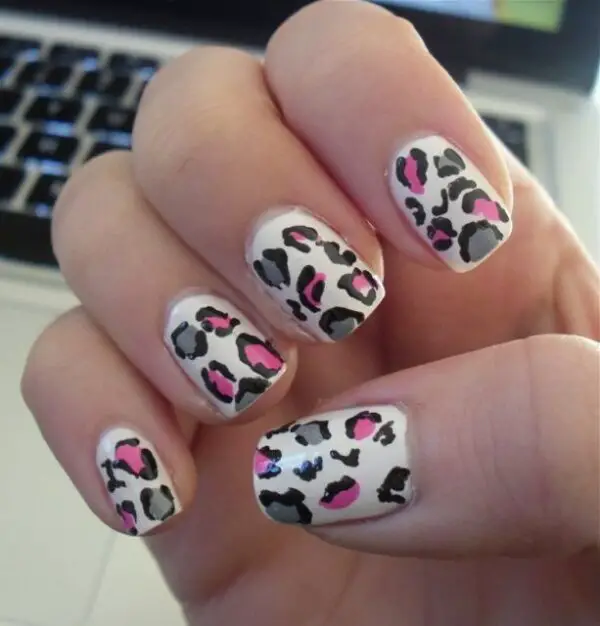
 Not bad for a first attempt huh?! This is actually really easy, before anything, I applied two coats of OPI Ridge Filler (one of my essentials!) and another two coats of any base polish of your choice. I used a cheapie white one from Rimmel’s lasting finish line in 085 London Clouds (ironic!). Once dry, I used these products for the leopard prints themselves:
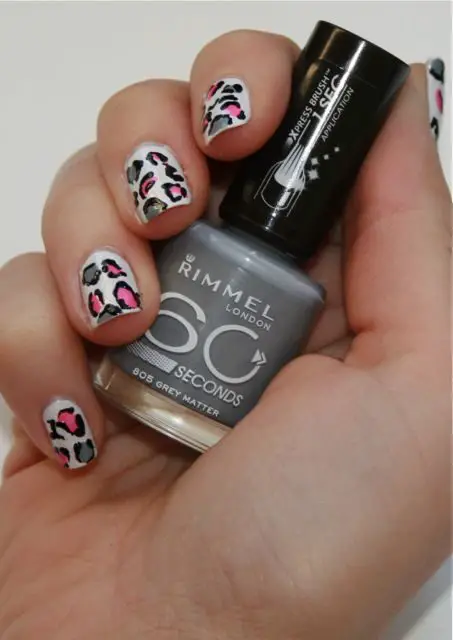 805-Grey Matter
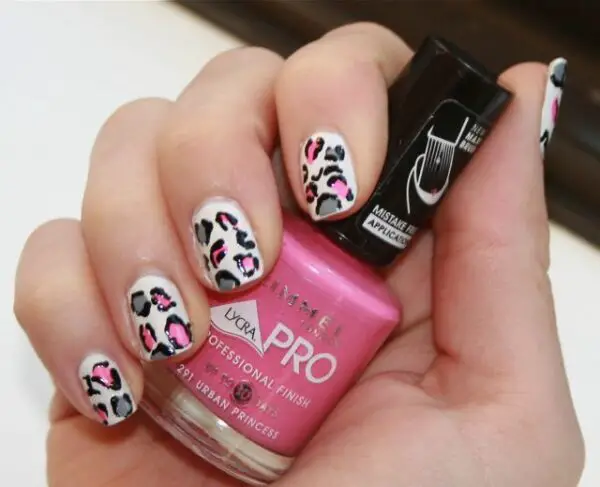 291-Urban Princess (strong Rimmel theme here!)
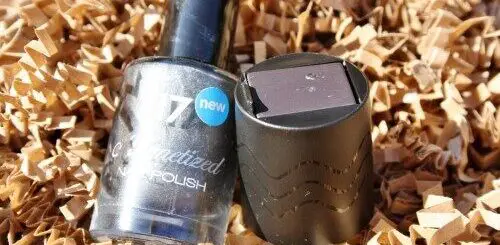
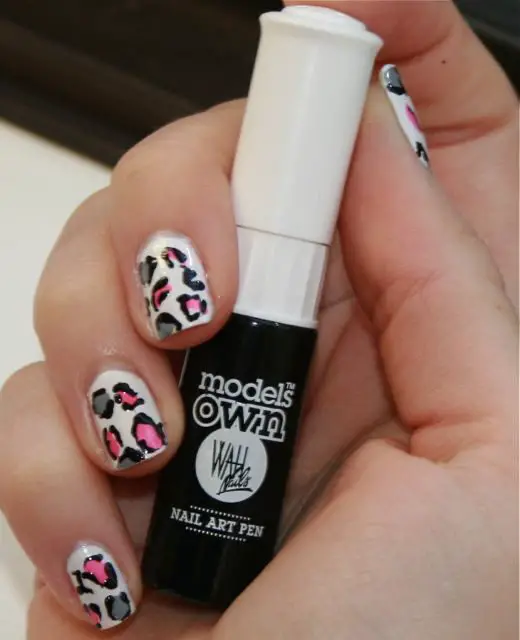 Nail art pen- you don’t necessarily need this!
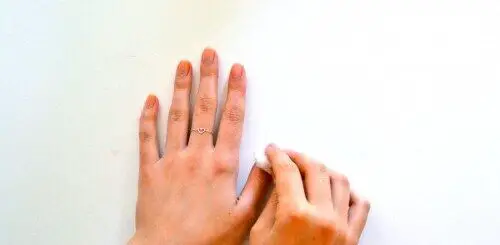
- Choose two contrasting colours to your base coat, just splodge them on in random places on your nail! I really mean random, it doesn’t matter about the size or shape and it doesn’t even need to be neat.
- DRY!
- Using the nail art pen (or even a toothpick and regular polish!) of a different colour, I chose a black for definition, draw around the splodges, not an exact square or circle though. It doesn’t matter about thickness or anything, but by not completely joining the line you get a more leopardy effect :).
- DRY!
- Slap on a topcoat and be amazed at how simple that was and how good they look. Well done you!
Told you it was easy didn’t I!  Give it a go and let me know how you get on, x
Tags: cheetah nailsLeopard NailsLeopard Nails tutorial