How to Get the Negative Space Nail Art Trend – Glam Radar
by Anjelina · October 14, 2015
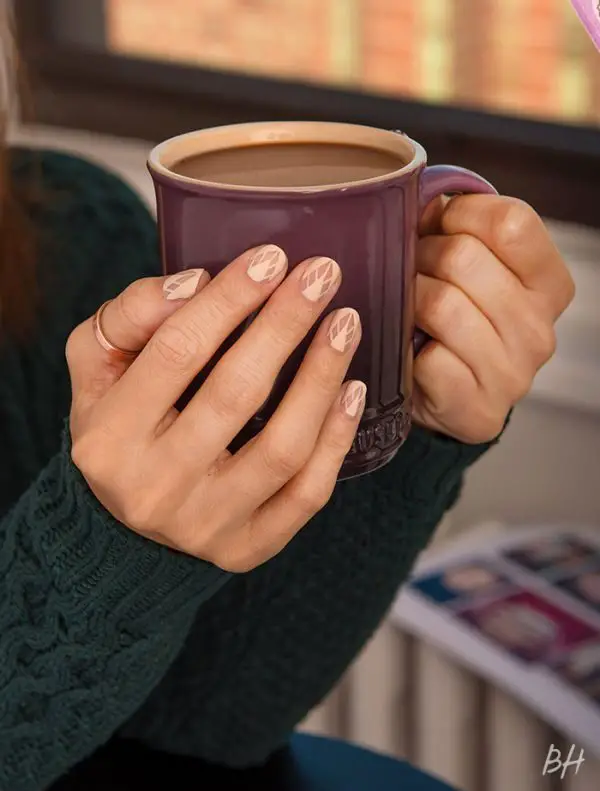
Since its rise in popularity, nail art has come a very long way. From simple painted designs back then, we now have the option to embellish our nails and come up with a 3D design or sprinkle add-ons to them for an interesting texture. One nail art trend that’s becoming really hot and popular today is the negative space design. This look basically aims to trick they eye into seeing floating lacquer on the nails. If you’re a nailaholic, check out these tips on how to get the negative space nail art trend.
- START WITH A HEALTHY BASE – unlike French manicures, negative space nail art designs mostly use bare nails (no base color) as their base. For your design to looks its best, you need to have healthy nails. You don’t want a yellowish base to show up underneath a really cool design. To achieve this, you can do your own nail soak solution (recipe and other tips here) and use it a few days before creating your negative space design.


- ENHANCE YOUR BASE – once you have your healthy base down, it’s time to enhance it. Get a clear nail polish and paint it all over your nails. This will protect your nails from discoloring in the future and will also give your nails that extra shine.
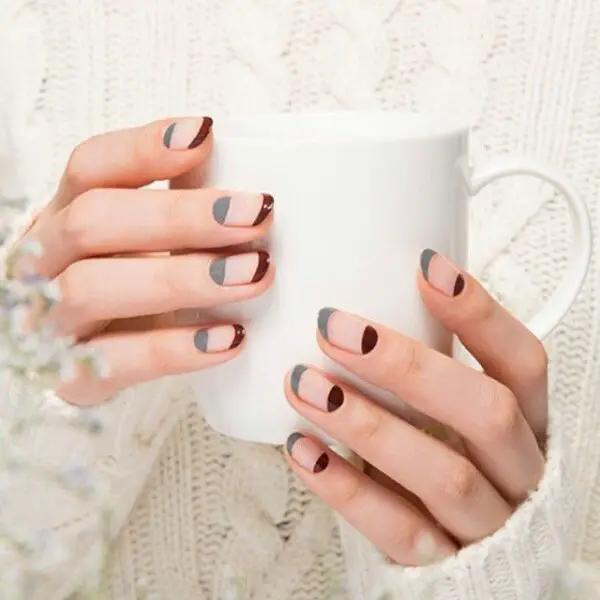
- MAP OUT YOUR DESIGN – the next step is to map out your design. You can choose to use one design pattern with all your nails and have them looking even and uniformed or you can be a bit more experimental and mix and match several patterns to create an interesting overall look. I find that the negative space nail art trend looks best with simple geometric patterns but you’re free to do other designs as well.


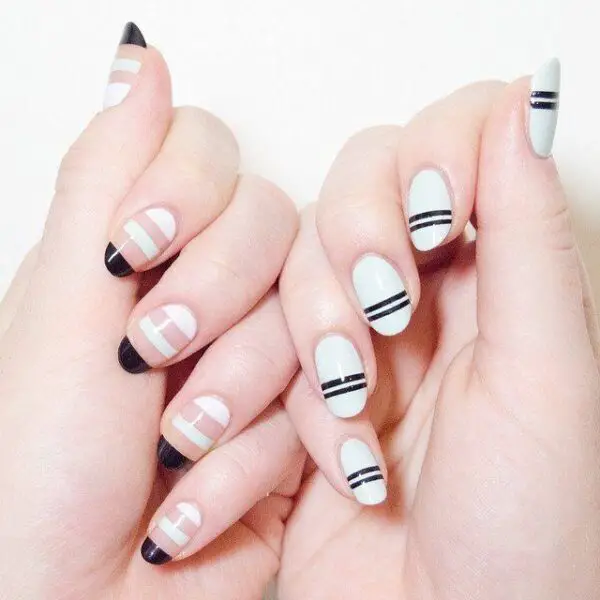
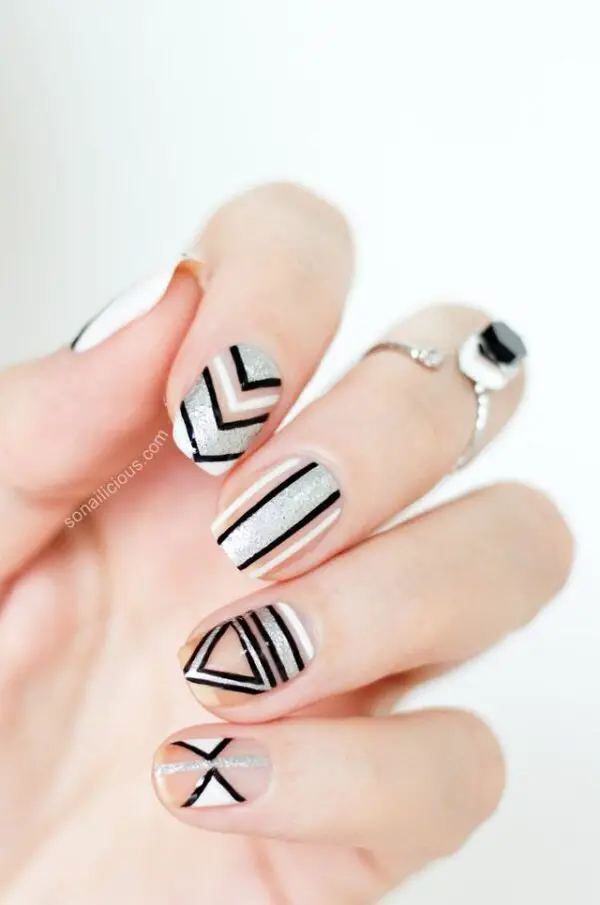
- EXECUTE THE DESIGN – now that you know the overall look you’re going for, it’s time to lay down the design(s) on your nails. If you’re using geometric pattern, grab some nail strip tape and use it as your guide to create sharp and precise lines. You can also use nail stencils for this or you can draw your designs freehand.

- SEAL YOUR NEGATIVE SPACE NAIL ART and CLEAN – finally, once you’re done with the negative space nail art design on your nails and you’re happy with how they turned out, seal in your design by painting your nails with a layer of clear nail polish. Clean off the excess polish on the edges of your nails, if any, with a tiny nail art brush dipped in some nail polish remover.

Tags: how to do the negative space nail arthow to get the negative space nail artnegative spacenegative space nail arttips for negative space nail art